How to set up the router for the customer and common fixes
Full TP-Link Router User Guide
Table of Contents
- SSID & Password Settings
- Firmware Upgrade
- APN Change
- Connecting the Router
- Old Routers APN Settings
- Speed Test
Make sure you are connected to the Router see steps below on how to do this.
Open Google Chrome, clear the address bar at the top of the page and enter the following IP Address
192.168.0.1 for Tenda Routers and D-Link Routers
192.168.1.1 for TP-Link routers
Username: admin
Password: admin or rwcadmin
Press the Login button to continue. (only if it prompts for a log in)
1. SSID & Password Settings
Once you are logged in go to Password Settings
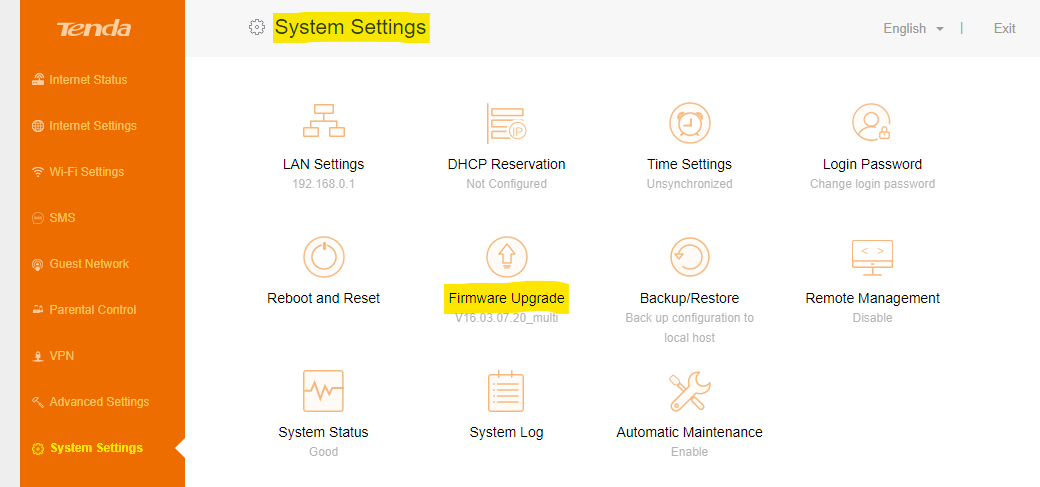
2. Firmware Upgrade
Once you are logged in go to System Settings
Select Update Firmware and upload the latest firmware file relevant to the router. As of October 1st all Tenda 4G09 Routers will come already updated with the latest firmware.
Found on Google Drive here feel free to share this folder link with the customer if they were signed up before September 29th. Any customers after September 29th have a proper 4G09 updated router.
4G09 Important Notes
- This firmware is only fit for 4G09V1.1 and its firmware version must be in V16.03.07.1X or more.
- Do not power off the device when upgrading.
- Please reset it to factory settings after upgrading it.
- If the firmware is updated to the latest file you will not need to change APN settings.
4G06 Important Notes
- This firmware is only fit for 4G06V1.0 and its firmware version must be in V16.03.07.XX or more.
- Do not downgrade to a lower version. If so, it will not allow changing the
configurations even damage the router. - Do not power off the device when upgrading.
- Please reset it to factory settings after upgrading it.

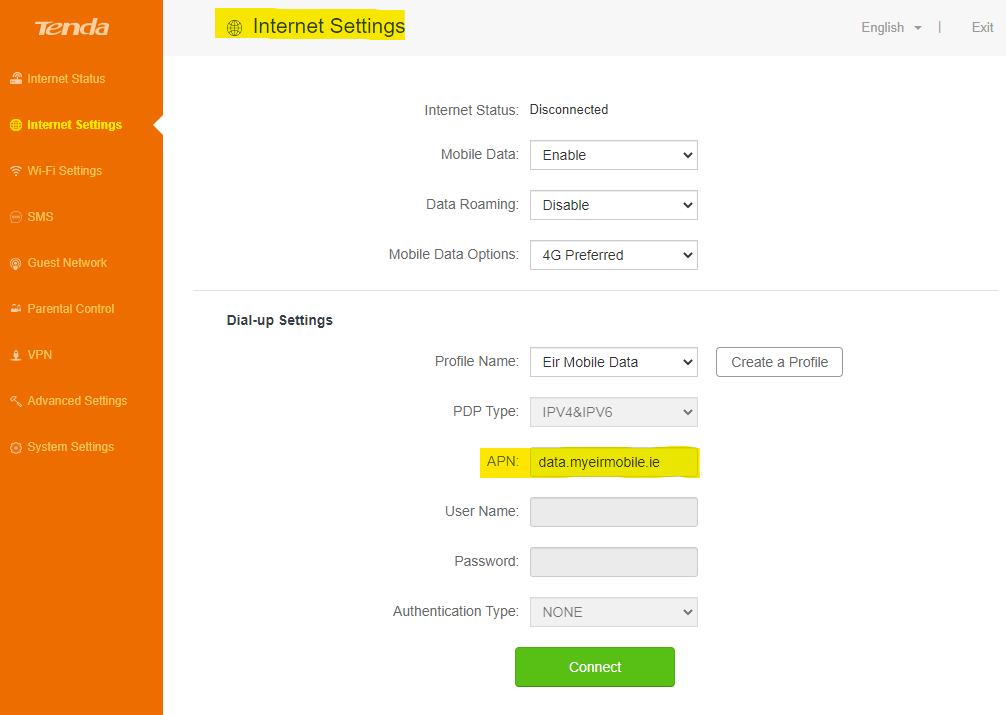
3. APN Change
Once you are logged in go to Internet Settings & enter any of the following APNs
Vodafone -> hs.vodafone.ie
EIR -> data.myeirmobile.ie / isp.mymeteor.ie
Three -> 3ireland.ie / 3Internet / open.internet / internet
Then click connect
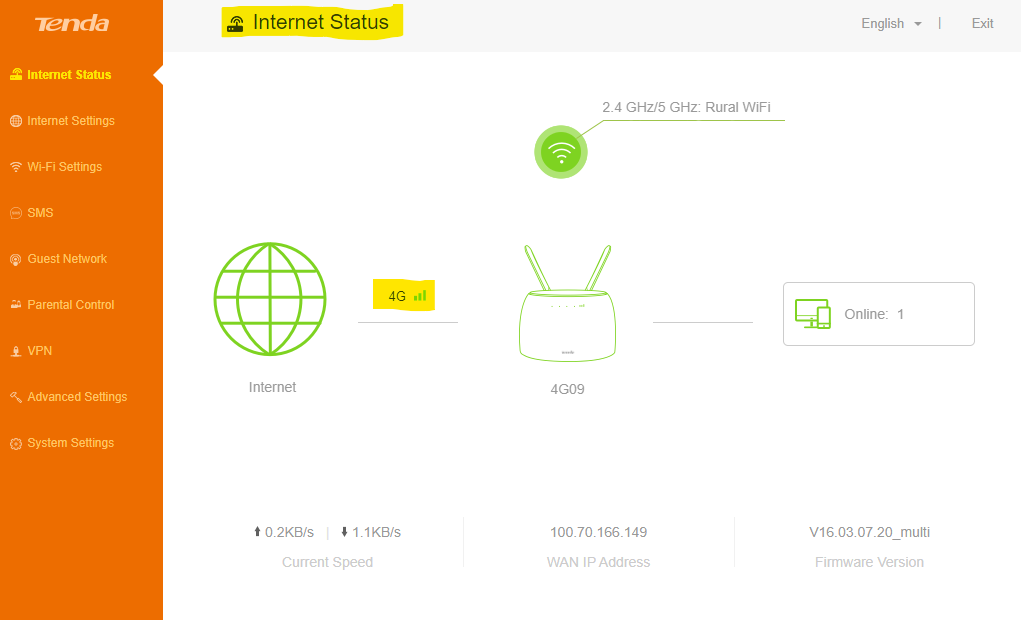
4. Connecting the Router
Input an ethernet cable to one of the LAN ports on the router and connect it to the back of your PC. Select the network on your PC desktop (it should do this automatically). You can also connect via a WiFi signal through the WiFi Key located on the back/under the router. Just search for the SSID on the back of the router (eg) Tenda_4FCE
.png?width=335&name=Untitled%20design%20(4).png)
LAN Port & EthernetBefore you Start:
- Take your sales order from the completed sales order tray
- Have a pen ready to fill out the sales order
- Open the CRM and Sage to fill out the sales order information
- Take a sim from the batch assigned to you from Hannah G
- Have two dipole antennas and a power supply ready for the router you will be configuring so less packaging has to be opened (use these on each router to quicken the process and to leave as many components in the box untouched as possible)
5. APN Change - Old Routers and TP Links
Step 1: (Powering up)
Plug the router into a power supply, connect your dipole antennas and insert the sim that you will be using to complete the order. Turn on the router via the power button on the router.
Step 2: Connecting Cable^^
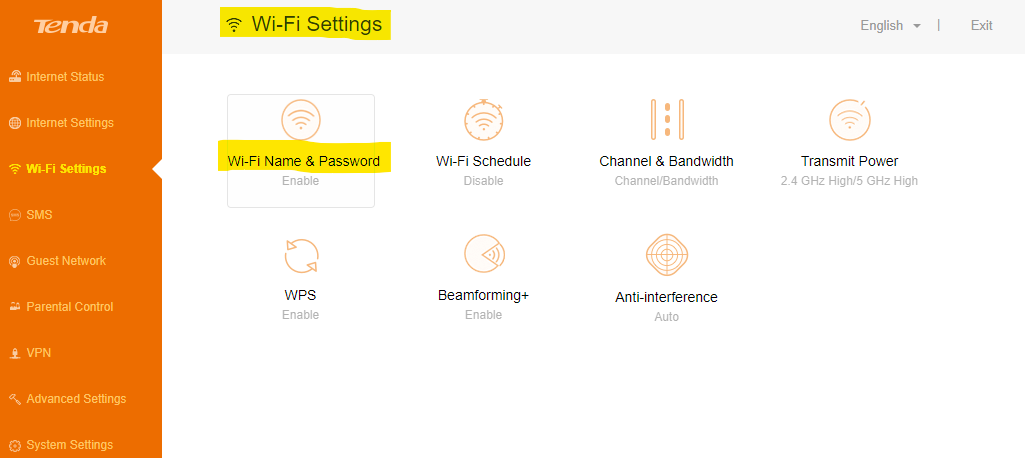
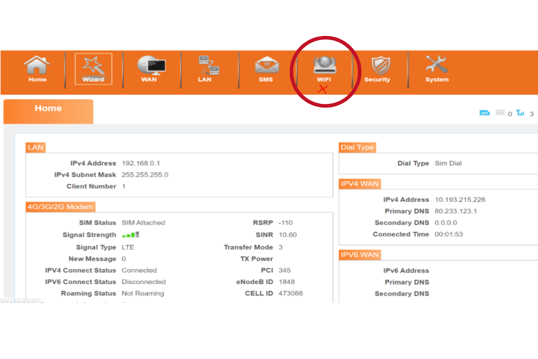
Changing the Network Name (SSID)
After landing on the home screen please select the WiFi Tab at the top of the page.
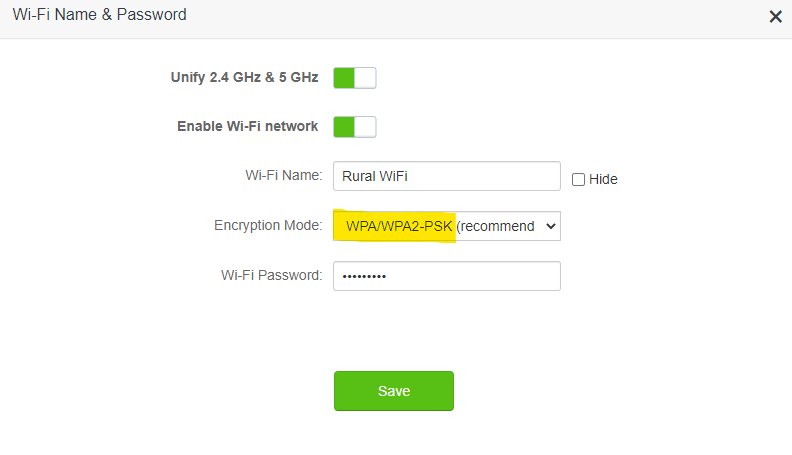
 You will now change the SSID and Max Clients. Rural WiFi is the new SSID and we change 10 - 30 Max Clients.
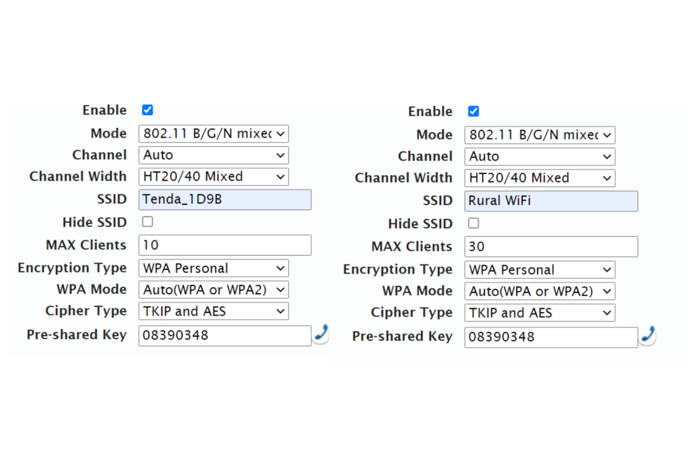
- Now click Apply at the bottom of the page
- Your change will be successful if the Router SSID (WiFi) has changed from the Tenda_1D98 to Rural WiFi and it is visible on your PC/laptop/device
**Please note, if you connected to the router over the WiFi network you will have to reconnect to your new SSID Rural WiFi**
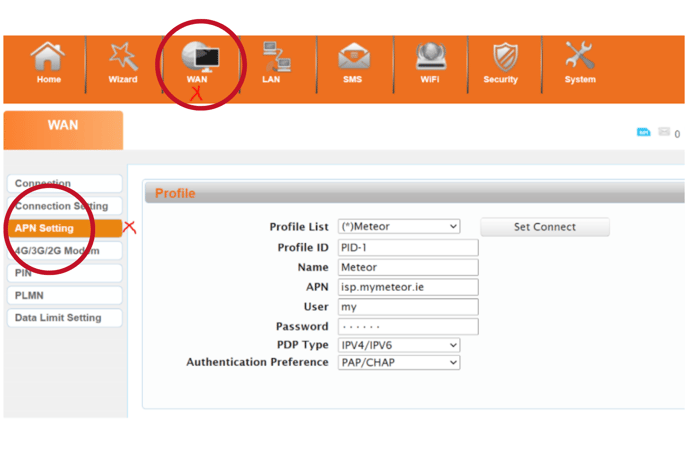
Step 5: Updating the APN of the Device
Now click on the WAN Tab at the top of the page and select the APN Setting button
Next, click on the Profile List drop-down menu and click add new.
- Now you will have to enter the APN details of the sim being used for the order
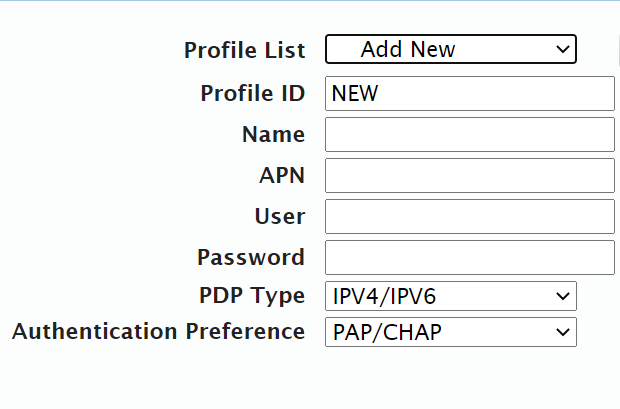
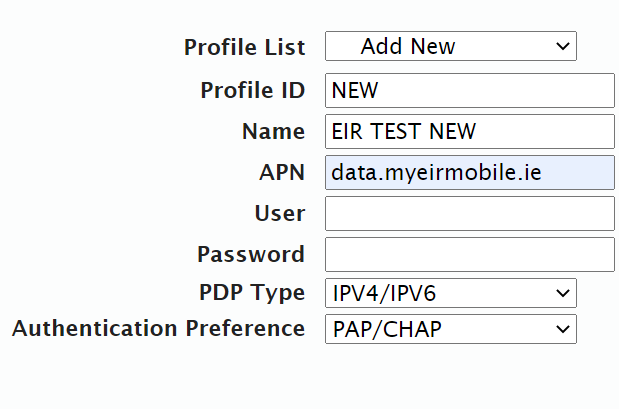
Vodafone -> hs.vodafone.ie
EIR -> data.myeirmobile.ie / isp.mymeteor.ie
Three -> 3ireland.ie / 3Internet / open.internet / internet
- Click the Apply in the bottom corner of the page and a Completed box will appear to let you know your new Profile List is ready
All the above APNs do not require a user or password when updating the APN on the router.
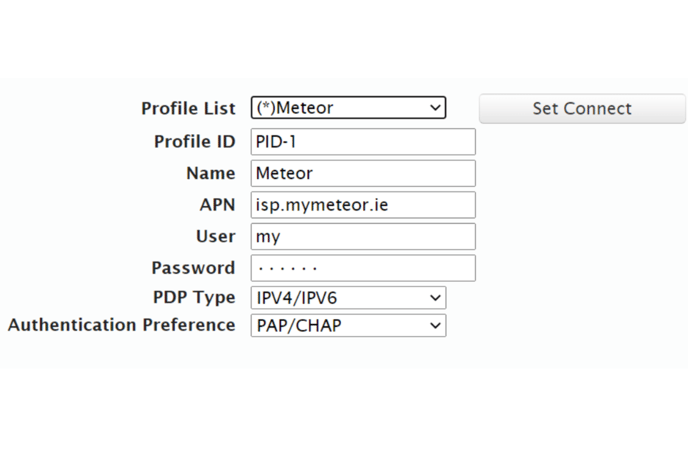
- You will now have to select the new APN you created. Click on the WAN Tab, select APN Settings and click on the Profile List drop-down menu

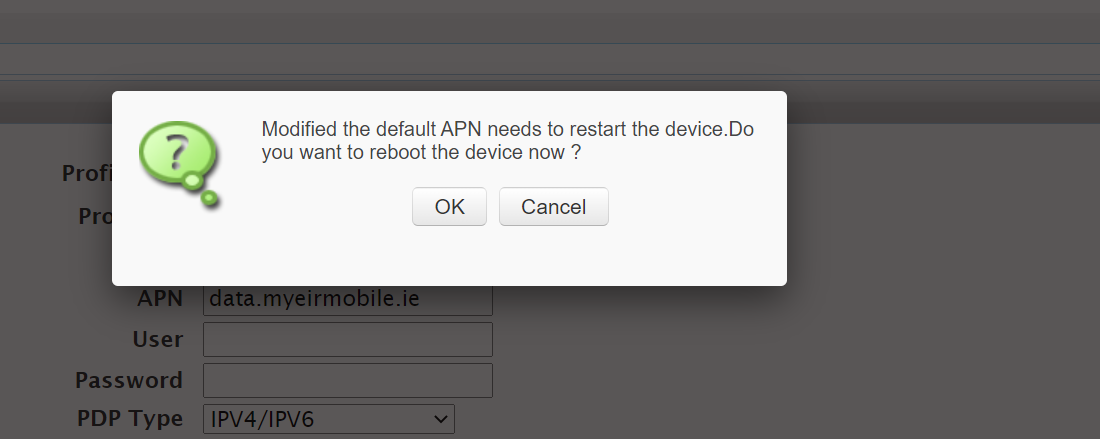
Please click on the Set Connect button, a message will pop up (below image). Click OK
Your router will begin a 60-second reboot countdown. Once it reboots all your new settings will be in place.

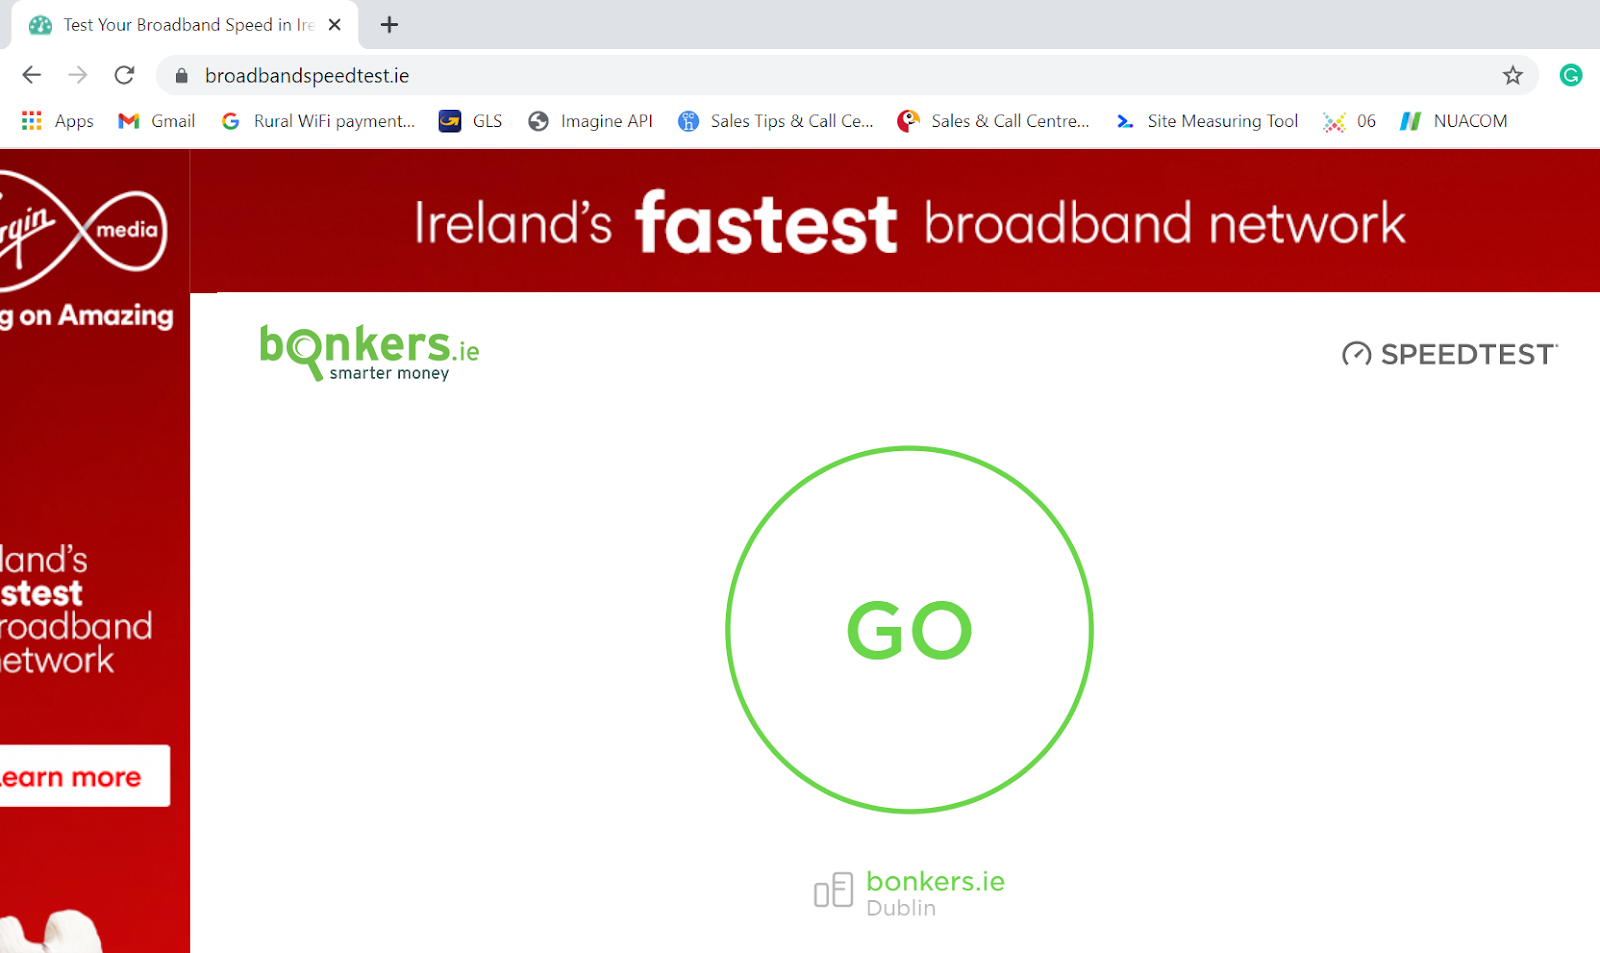
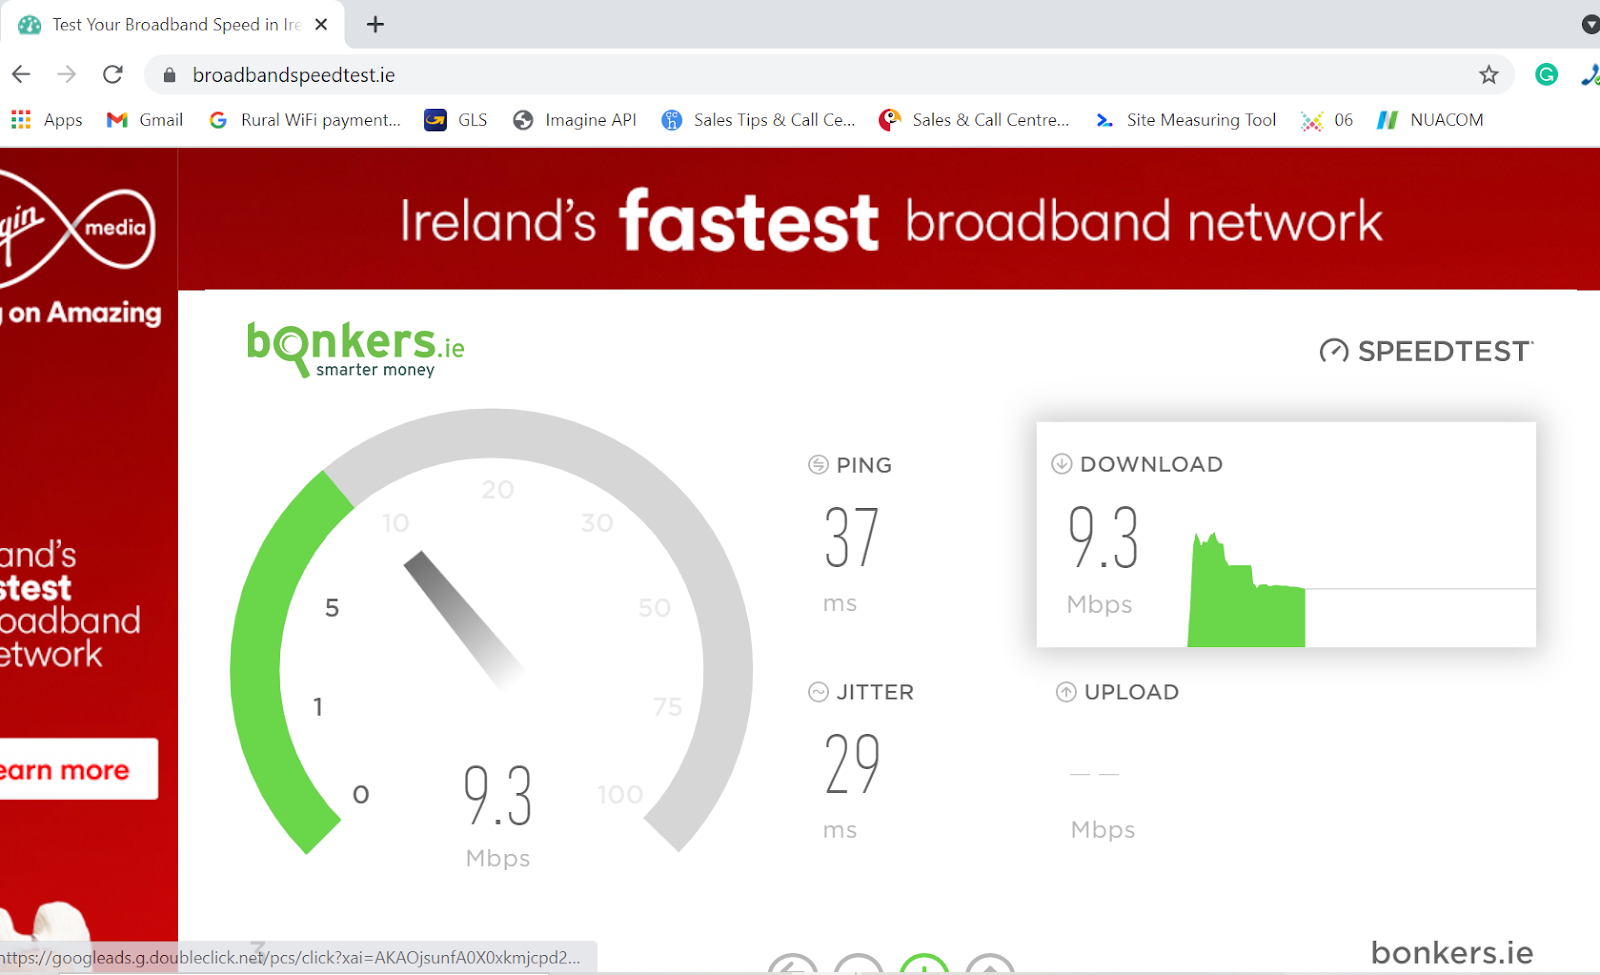
6. Testing the Router for success
Please run two-speed tests on your router via www.broadbandspeedtest.ie or www.speedtest.net .
Click GO on the Page to check your Upload, Download, Ping & Jitter.
Sample Image: